
Deploying Laravel Apps with Envoyer
Deploying Laravel Apps with Envoyer
In this tutorial, we will explore how to deploy Laravel applications using Laravel Envoyer, a powerful deployment tool designed specifically for Laravel projects. Envoyer streamlines the deployment process, making it easier to deploy your Laravel application to production servers and maintain a smooth development workflow. By the end of this tutorial, you’ll have a good understanding of how to set up and use Laravel Envoyer for deploying your Laravel applications.
Prerequisites
Before we start, ensure that you have the these prerequisites:
- A Laravel project (You can create one using
composer create-project --prefer-dist laravel/laravel project-name) - A version control system (e.g., Git) set up for your Laravel project
- A production server or hosting environment where you want to deploy your Laravel application
- SSH access to your production server
Easy: Installing Laravel Envoyer
Step 1: Create an Envoyer Account
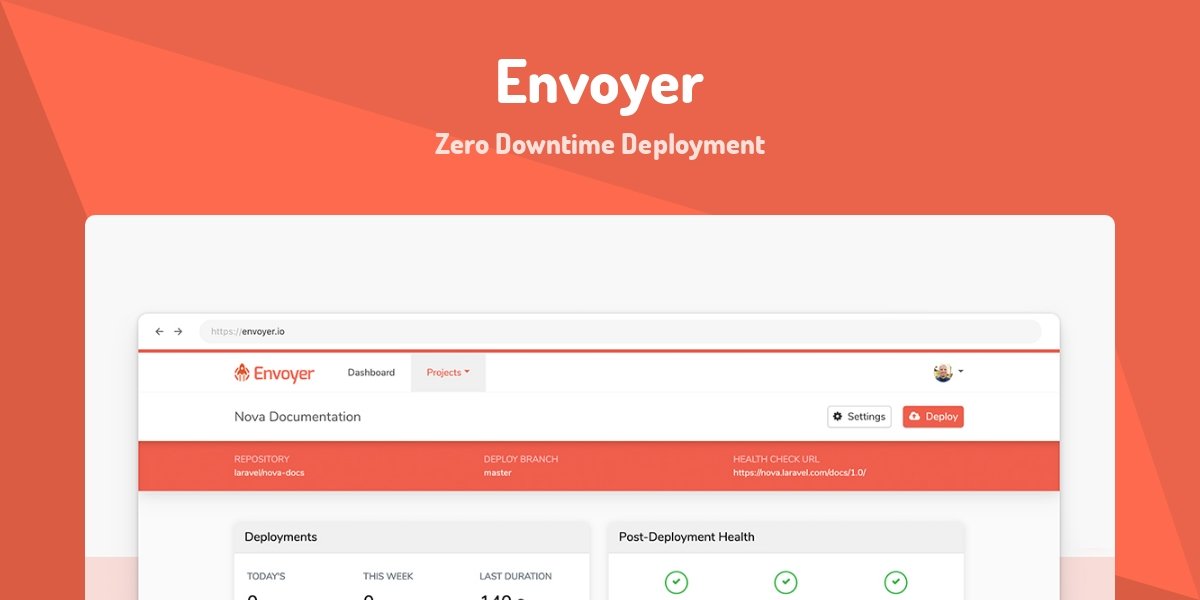
If you haven’t already, sign up for a Laravel Envoyer account at https://envoyer.io/.
Step 2: Create a New Project
Log in to your Envoyer account and create a new project. Provide a name for your project and choose the Git repository where your Laravel application is hosted.
Step 3: Configure Server and Environment
Follow the prompts to configure your production server. You’ll need to provide your server’s SSH details, including the hostname, username, and authentication key.
Step 4: Set Up Environment Variables
Define any environment variables required for your Laravel application. Envoyer allows you to set environment variables specific to your production environment, ensuring that sensitive information like database credentials is secure.
Step 5: Deploy Your Project
Once your project and server are configured, you can trigger the initial deployment. Envoyer will connect to your server, clone your Git repository, and deploy your Laravel application.
Medium: Setting Up Deploy Hooks
Step 1: Configure Deployment Hooks
Envoyer supports deployment hooks that allow you to run custom scripts or commands before or after deployment. You can use these hooks for tasks like migrating the database, clearing caches, or restarting services.
In your Envoyer project settings, navigate to the “Deployment Hooks” section and define the hooks you need.
Step 2: Configure Notifications
Set up notifications to receive deployment status updates. Envoyer supports various notification channels, including Slack, email, and more.
Step 3: Test the Deployment
Trigger a new deployment to test your deployment hooks and notifications. Ensure that your Laravel application is deployed successfully and that any post-deployment tasks are executed as expected.
Hard: Zero Downtime Deployments
Step 1: Set Up Zero Downtime
Envoyer supports zero-downtime deployments, allowing you to deploy new code without affecting your production application’s availability.
In your project settings, enable zero-downtime deployments and configure the necessary settings.
Step 2: Monitor Deployment Health
With zero-downtime deployments enabled, it’s crucial to monitor the health of your application during deployment. Envoyer provides real-time monitoring to ensure that the deployment process doesn’t impact your users.
Step 3: Rollback in Case of Issues
In the event of deployment issues, Envoyer allows you to perform rollbacks to the previous stable version of your application. Familiarize yourself with the rollback process and test it to ensure you can quickly recover from problems.
Conclusion
Laravel Envoyer simplifies the deployment process for Laravel applications, making it efficient and reliable. With this tutorial, you’ve learned how to set up Envoyer, configure deployment hooks, enable zero-downtime deployments, and manage deployment issues. Envoyer is an essential tool for Laravel developers, ensuring that your applications are deployed seamlessly and with minimal disruption to your users. Happy deploying!